Welcome to Microsoft Word course 2.
Let’s get started by launching Microsoft Word as you have already learned in Microsoft Word course 1 . In this course, we will continue to learn about editing text, specifically in the Insert tab.

In this tutorial, I will teach you how to edit a Word document using the INSERT tab to add tables, pictures, shapes, and WordArt.
Disclaimer: I am not responsible for any damage that may occur.
How to add a table in a Word document:
There are several ways to create and insert a table into the active document:
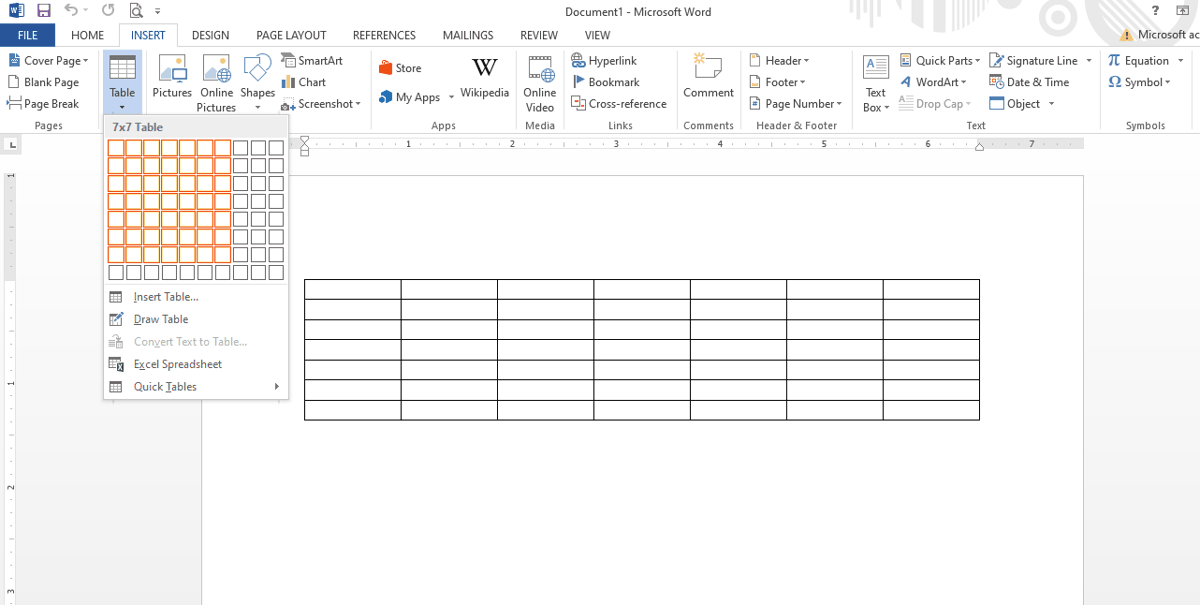
- Click on the “Insert” tab in the Ribbon menu, then click on “Table”. Use the mouse pointer to slide down to add rows and slide to the right to add columns. Once you have added the desired number of rows and columns, click on the last column. The table will appear in your document.
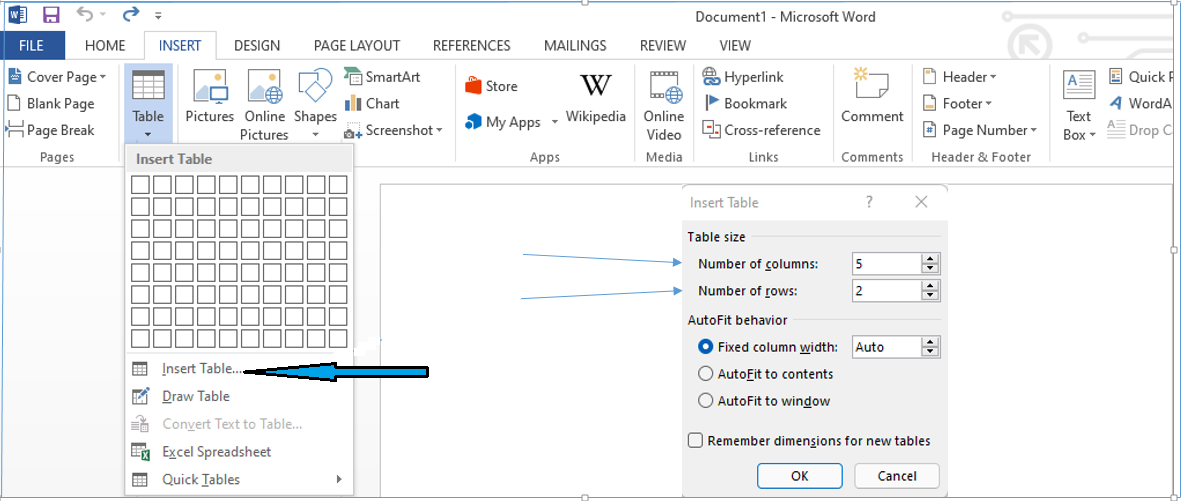
- In Ribbon, click INSERT Tab, then click Table, click insert table, at the side of “Number of columns”, in the box, click and type the number of columns you want or click the arrows to increase or decrease; at the side of “Number of rows”, click in the box to type the number of rows you want. The maximum number of columns that can be added is 63 and the maximum number of rows that can be added is 32767.
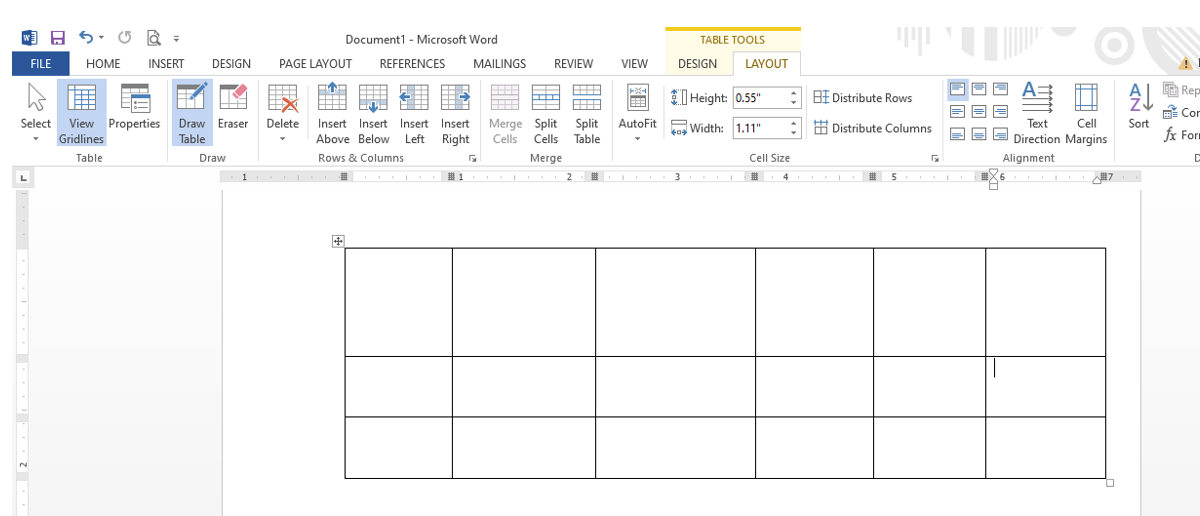
- In the Ribbon, click the INSERT Tab, then click Table, and select Draw Table. The mouse pointer will change into a pencil that you can use to draw the table with the desired amount of rows and columns. You can start by drawing the borders of the table, simply click and drag from the top left to the bottom right corner. Next, draw the rows and columns to have the desired number of cells.
How to manipulate tables:
Now that you have the table, you can write in it. Click on the cell where you want to write to put the cursor there.
To move the cursor to the next cell, press Tab or the right arrow key.
To move the cursor to the previous cell, press and hold Shift and then press Tab or the left arrow key.
To move the cursor to the cell below, press the down arrow key, and to move the cursor to the cell above, press the up arrow key.
If you want to merge multiple cells into one (to create a title or for another reason), you can merge cells. To merge cells, select the cells, right-click on them, and then click Merge cells.
If you want to divide a cell into several cells, you can use the pencil. On the INSERT tab, click Table, and then click Draw Table. Now the cursor will turn into a pencil, use it to draw the separators by drawing from one line to another.
You can adjust the width and height of the table or the cells according to your preference.
Resize the table and cells
You can resize the entire table or individual cells.
To resize the entire table: Place the cursor on the small square that appears in the bottom right corner of the table. When the cursor becomes two arrows, click and drag it towards the inside to make it smaller or towards the outside to make it larger.
If you don’t manually resize the table, it will grow as you add content to the cells. However, you can tell it to adjust to the content or adjust to the window.
To choose these options, place the cursor in the bottom right corner of the table, right-click, and drag the cursor to “Autofit.” Then, click “Autofit to Contents,” “Autofit to Window,” or “Fixed Column Width.”
What is Autofit to Contents?
Each cell will widen or shrink according to its contents. If a cell has more characters, it will be wider, and empty cells will be smaller. Each cell will have a different width. The cells will automatically expand as you add more characters to them.
What is Autofit to Window?
The table will have the same width as the document window, regardless of the characters in it.
What is Fixed Column Width?
With fixed column width, the width of the cells (or columns) will not change based on the number of characters in them. Instead, the height of the cells will change (the distance between the rows).
How to add pictures?
To add pictures, click the “INSERT” tab in the Ribbon and then click “Pictures.” A new table will appear, showing the picture folder on your computer. If your pictures are in another folder, you can click its name on the left, where you see “This PC,” “Desktop,” “Documents,” “Downloads,” and others. Open the folder and double-click the picture you want to insert. You can then modify its size and move it to where you want it.
How to add shapes?
To add shapes, click the “INSERT” tab in the Ribbon and then click “Shapes.” You will see a selection of shapes. Click on the shape you want, and the cursor will become a small cross. Click and drag to draw the shape. You can modify its size and move it. To choose a different color for your shape, click on it to select it. A box will appear under “PAGE LAYOUT” and “REFERENCES,” with three squares, each with a different color. Click on one of them. If you don’t see the color you want, click the arrow next to them to see more options, and then click on your preferred color.
How to add WordArt?
To add WordArt, click the “INSERT” tab in the Ribbon and then click “WordArt” (in the top right corner, under “Quick Parts”). You will see a preview of your text with some “A"s in different colors. Click on one of them, and a new box will appear with the words “Your text here.” Type your text inside the box. You can then edit your text, change the font, size, color, and more. You can also move the box to another place.
Share on: